




Learn how to use a GPS device for hiking with simple setup steps, route planning tips, waypoint guidance, safety advice, and answers to common GPS questions.
A trail can look simple on a map, yet become confusing when paths split, fog rolls in, or signs disappear. A hiking GPS helps you check your position, follow a planned route, save important locations, and retrace your journey.
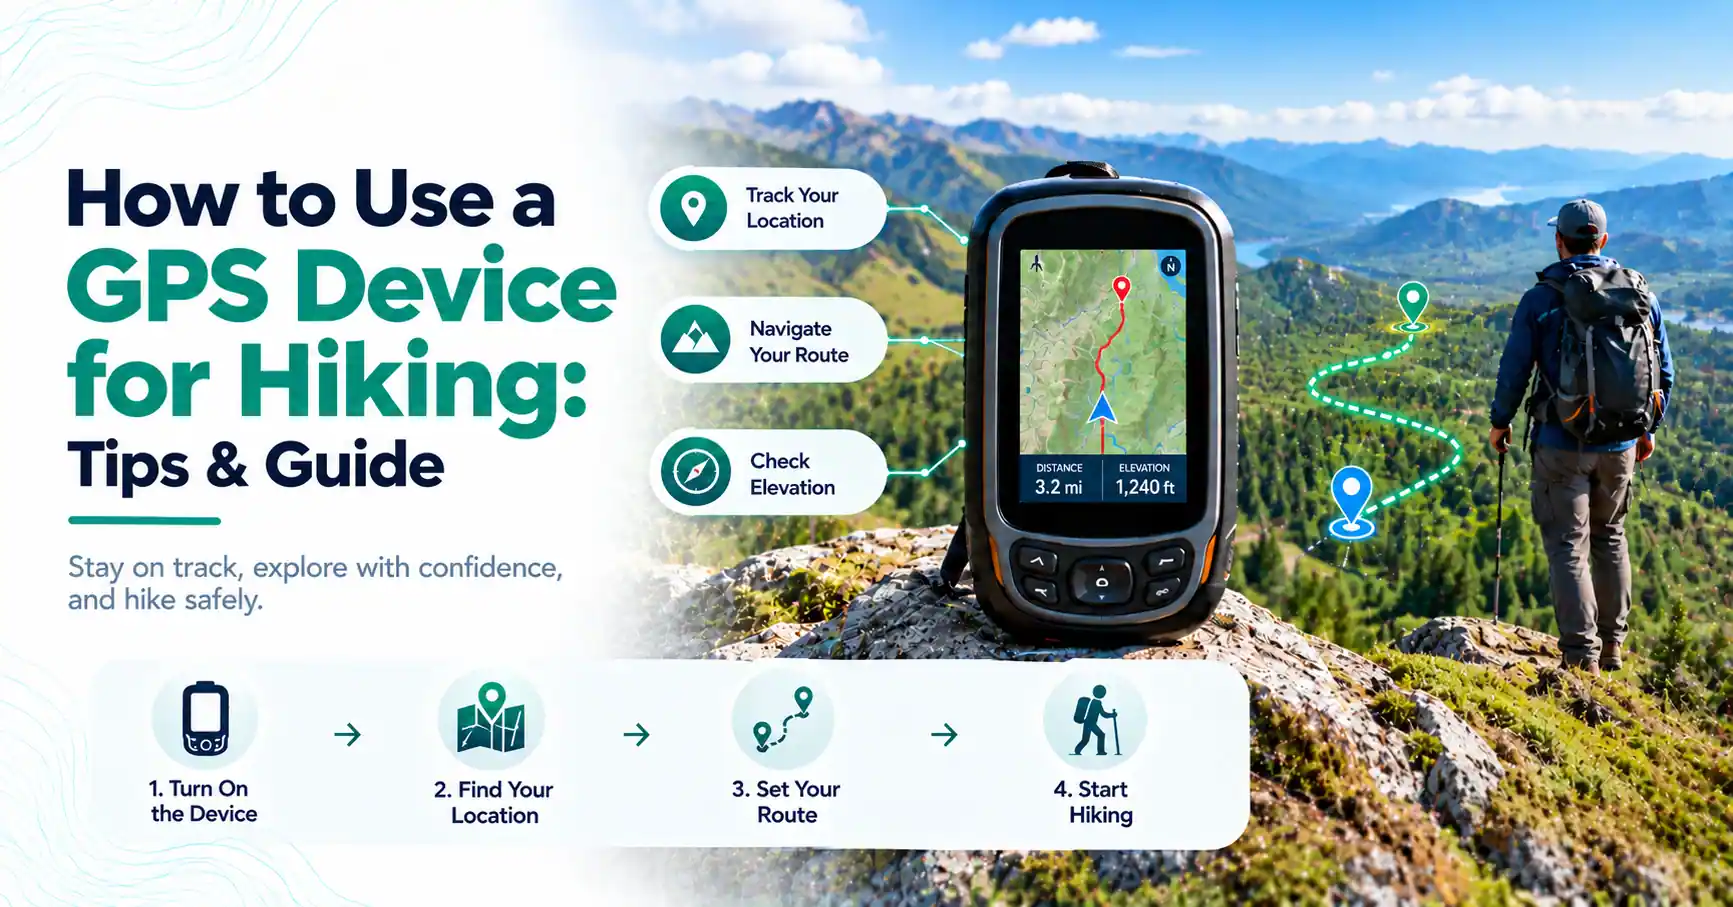
Learning how to use a GPS device for hiking before you enter remote terrain is important. The basic process is simple: prepare your device, load your map and route, mark your starting point, start navigation, and keep checking your surroundings as you walk.
This guide explains how GPS works, how to use it step by step, common mistakes to avoid, and key safety tips for hillwalking and trekking.
What Is a Hiking GPS Device and How Does It Work?
A hiking GPS is a portable device that uses satellite signals to calculate your position. It can show your location as coordinates or place that position on a digital map.
GPS satellites send signals that include their position and precise time. Your receiver compares signals from several satellites to calculate where you are. GPS provides positioning, navigation, and timing information to compatible receivers.
GPS positioning is different from a map. The satellites can help your device find its location, but detailed trail maps may need to be downloaded or installed separately.
This is why many GPS devices can find your position without mobile service or internet access. However, online maps, weather data, route syncing, and other connected features may still require a connection.
How to Use a GPS Device for Hiking: Step-by-Step
If you are learning how to use a GPS, practice these steps on an easy local trail before depending on the device in remote areas.
1. Charge and Set Up Your GPS
Start with a full battery. If your device uses replaceable batteries, carry a spare set.
Turn the GPS on outside and give it a clear view of the sky so it can locate satellites. Check your map settings, units, and battery level.
If you are using GPS coordinates with a paper map, make sure the coordinate format and map datum match. A mismatch can place a coordinate in the wrong location.
2. Download Maps and Plan Your Route
Load the maps you need before leaving home, especially if your hike passes through an area with weak mobile coverage.
If your GPS supports GPX files, you can also import your planned route. A GPX file stores navigation information such as tracks, routes, and waypoints.
Before starting, review:
Trail direction
Elevation changes
Major junctions
Water crossings
Possible exit points
Do not assume a downloaded route is automatically safe or current. Conditions on the ground can change.
3. Mark Your Starting Point
Save your trailhead, car park, campsite, or starting location as a waypoint.
A waypoint is a saved geographic position. You can use waypoints for trail junctions, shelters, water sources, camps, or other useful landmarks.
Saving your starting point gives you an extra reference if you later need to navigate back.
4. Start GPS Navigation
Select your route, track, waypoint, or destination and begin navigation.
Your device may show your current position, direction of travel, distance remaining, and estimated route. Features vary by model.
Do not spend the whole hike staring at the screen. Compare the display with the actual terrain, trail signs, landmarks, and your paper map.
5. Track Your Hike
Many handheld units can record a track as you walk. A recorded track creates a digital trail of where you have travelled.
Check the GPS occasionally for:
Your current position
Direction of travel
Distance covered
Route progress
Remaining battery
If your GPS route appears to direct you through a cliff, river, closed trail, or unsafe slope, stop. The line on your screen does not override real conditions.
6. Navigate Back Safely
Some GPS devices provide a return-track or TrackBack-style function. It can help you follow your recorded path in reverse.
You may also navigate toward your saved starting waypoint.
Treat these features as navigation aids rather than guarantees. Your original path may have become unsafe because of weather, darkness, flooding, snow, or another hazard.
GPS for Hillwalking and Trekking: Practical Tips
Using a GPS for hillwalking can be especially useful when fog, rain, or low cloud makes landmarks difficult to see.
Mountain terrain can still create navigation challenges. Valleys, steep slopes, trees, and rock faces may affect how well a device receives satellite signals. Give the unit a clear view of the sky when possible and avoid keeping it buried deep inside your pack.
Cold conditions can also reduce battery performance. Keep spare batteries protected from extreme cold and check battery levels throughout longer trips.
A GPS for trekking is most useful when it forms part of a wider navigation system. Carry a physical map and compass and know how to use them.
Essential GPS Hiking Safety Tips
Good hiking GPS navigation starts before you reach the trail.
Download all required maps while you still have a reliable connection. Charge your GPS and phone, and carry spare batteries or a suitable power bank when needed.
Check the weather, trail conditions, closures, and expected daylight hours. Save useful waypoints, but never depend only on electronic navigation.
Carry a map and compass for backup and make sure you know how to use them.
Tell a trusted person where you are going, the route you expect to take, and when you plan to return.
Remember that an ordinary GPS receiver is not automatically an emergency communication device. Satellite messaging and SOS functions require compatible equipment and may also require an active service plan.
Do I Need a GPS for Hiking?
No, every hike does not require a dedicated GPS device, but one can be valuable on longer or remote routes.
If you are wondering, do I need a GPS for hiking, consider the type of trail you plan to walk. A smartphone with offline maps may be enough for a short, well-marked route.
A dedicated GPS becomes more useful when you hike for long periods, travel beyond mobile coverage, face poor weather, or need a rugged device designed for outdoor navigation.
Whichever option you choose, do not make electronics your only navigation method. Batteries can run out, devices can break, and digital maps can contain errors.
How to Choose the Best GPS for Hiking
The best GPS for hiking is the one that matches your routes and navigation needs rather than simply the device with the most features.
Look for strong battery life and a screen you can read outdoors. Check whether the unit supports offline maps, GPX files, waypoints, route recording, and the satellite systems you want to use.
Water resistance and physical durability also matter if you hike in rain or rough terrain.
Finally, consider ease of use. A simpler GPS that you understand well can be more useful than a complex device you struggle to operate.
If satellite messaging matters to you, check whether it is built in and whether a separate subscription is required.
Common GPS Mistakes Beginners Should Avoid
One common mistake is downloading a route but forgetting the offline map beneath it. Another is starting a hike without saving the trailhead.
Watch your battery level rather than waiting for a low-battery warning. Keep backup navigation available.
Most importantly, never blindly follow the line shown on a GPS. A route can cross dangerous terrain or become outdated.
GPS accuracy tells you where the receiver believes you are. It does not tell you whether the next section of terrain is safe to cross.
Final Thoughts
Learning how to use a GPS device for hiking can make route planning and navigation much easier, but the device should support your outdoor skills rather than replace them.
Load your maps before leaving, save important waypoints, watch your battery, and compare the GPS with the landscape around you. Practice on familiar trails first. For remote hikes, carry backup navigation and leave your route details with someone you trust.
Frequently Asked Questions
Yes. An iPhone can receive satellite-navigation signals and can be useful for hiking. Download suitable offline maps before the hike because map data and some app features may otherwise require internet access.
Basic GPS positioning normally does not require a subscription. However, some premium maps, satellite messaging, weather services, SOS communication, or connected features may require a paid plan.
GPS satellites send timing and location signals. Your receiver uses signals from multiple satellites to calculate your position and can then display that position as coordinates or on a map.
Turn it on outdoors, wait for satellite reception, select your map or route, save your starting waypoint, begin navigation, and regularly compare the GPS display with your surroundings.
There is no single best choice for everyone. Look for a handheld GPS that provides offline maps, route navigation, waypoints, and track recording without requiring a paid service for basic navigation.
A GPS depends on battery power and can suffer from signal or map limitations. Devices can also fail. Over-reliance on the screen may cause hikers to ignore trail signs, terrain, or changing conditions.
Yes. GPS positioning itself does not require internet access because the receiver calculates its location from satellite signals. However, downloading maps, syncing routes, and accessing live information may require internet access.
GPS is the positioning system that helps determine where you are. Navigation is the broader process of using your position, maps, routes, directions, terrain, and other information to reach a destination.
It depends on the device. Compatible GPS units may pair with a phone through Bluetooth, Wi-Fi, or the manufacturer's app. Check the official manual because not every handheld GPS supports phone pairing.